
Written by me@grafxflow
29 Jan, 2007
0
5,530
(Update - Newer versions of After Effects have keylight already included)
Here is a tutorial covering the basics of keying using keylight in After Effects 7. If you want something that gives you the best green/blue screen keying in After Effects, then in my personal opinion keylight is it.
First download the demo of keylight at www.thefoundry.co.uk/.
You can also find example green footage here www.hollywoodcamerawork.us/greenscreenplates.html
But before I start I can't stress the importance of lighting when filming... do your very best to give a clear background colour on the film shoot.
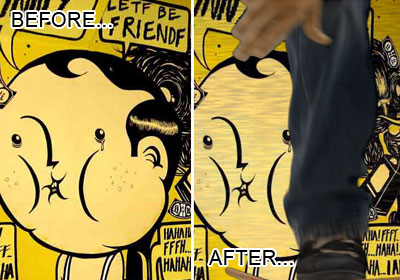
Below we have the elements for the scene. Our clip of someone on a skateboard and a still image for our background.

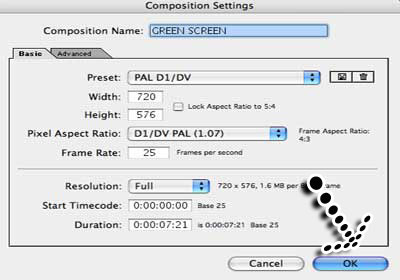
Start by creating a new composition and call it 'GREEN SCREEN'.
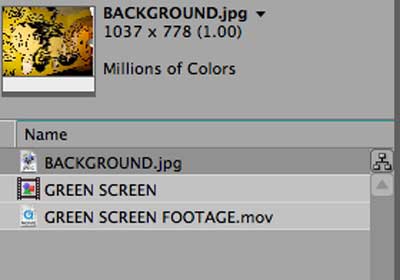
Now lets import the 'GREEN SCREEN FOOTAGE.mov' and 'BACKGROUND.jpg'.
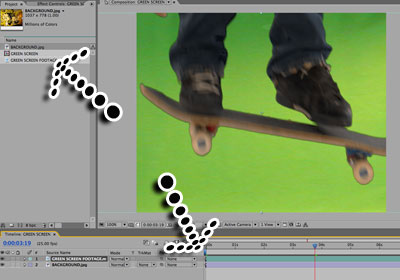
Place both elements on the timeline making sure the footage is above the background image. I've had to move along the timeline to get a more full shot of the skateboarder.
Making sure that the 'GREEN SCREEN FOOTAGE' is selected, go to the menu and choose 'EFFECT/KEYING/KEYLIGHT(1.2)'.
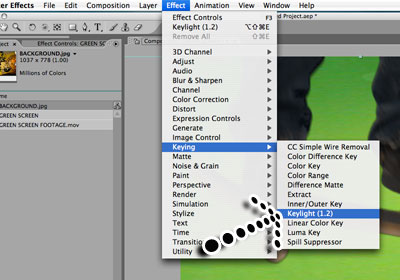
At first nothing changes... the reason being that keylight has a default screen colour of black, when we want green.
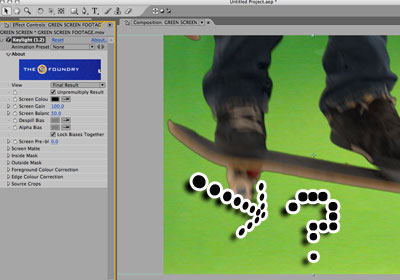
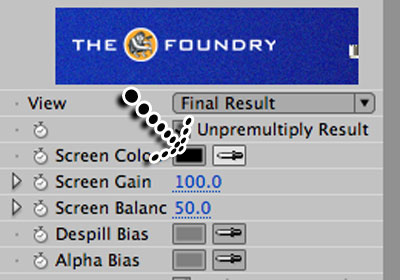
So first thing we have to do is select the keylight filter and 'SCREEN COLOUR' option. Then go to the preview window and select a part of the green background.
As if by magic the background image will appear.
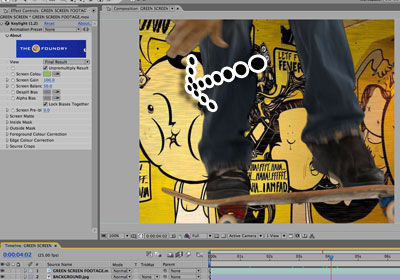
That's it... or is it? Take a closer look at the original 'BACKGROUND.JPG' and then as it is on the preview window. Something isn't right.
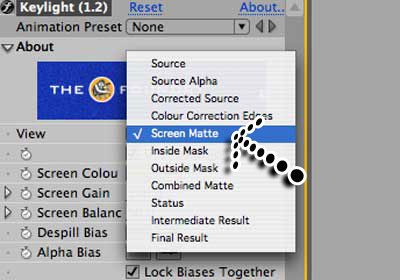
Start by changing the FINAL RESULT option to SCREEN MATTE.
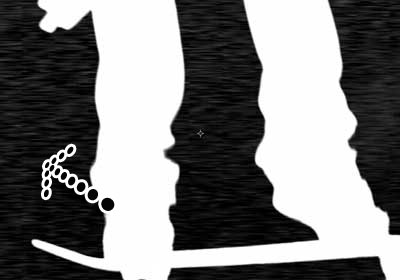
We now see that the matte isn't a sharp and clear black and white, which is causing the problem with the background not clearly showing through.
Now select 'SCREEN GAIN' and change it to '120'...
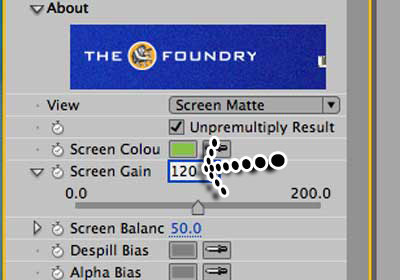
... then look back at the preview window. We now have a lot cleaner matte.

Change keylight back to FINAL RESULT. You should now see a lot clearer background behind the skateboarder.
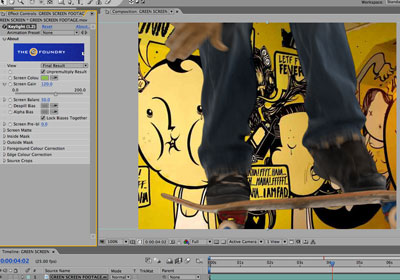
Before saving and rendering the clip, do a ram preview to make sure the keylight settings work for all the other frames.
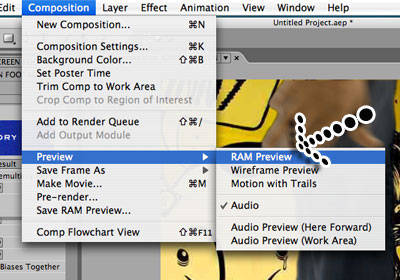
You may have to fine tune your settings depending on the quality of the footage, even play around with the colour settings so it matches with the backgrounds lighting.
Hope this helps.
17 Mar, 2008
08 Jan, 2007
21 Dec, 2007

I am a Full-stack Developer who also started delving into the world of UX/UI Design a few years back. I blog and tweet to hopefully share a little bit of knowledge that can help others around the web. Thanks for stopping by!
Follow11 Jul, 2023
21 Jun, 2023
Views: 168,296
Views: 41,265
Views: 38,840
Views: 35,856