Written by me@grafxflow
21 Jan, 2007
0
4,958
Here is a tutorial showing the use of Block Dissolve to create several clips fading in/out on a grid (You will need 9 movie clips).
NOTE: This tutorial is intended for PAL, if you use NTSC some of the numerical settings will need to be changed!
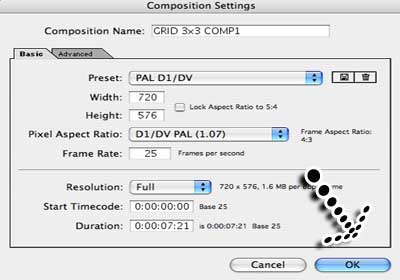
Open After Effects and create a new composition. We will call it 'GRID 3x3 COMP1'.
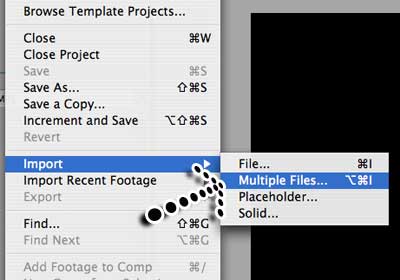
Go to 'File>import>multiple files' and select the 9 clips you wish to use (make sure they have the same running time if possible).
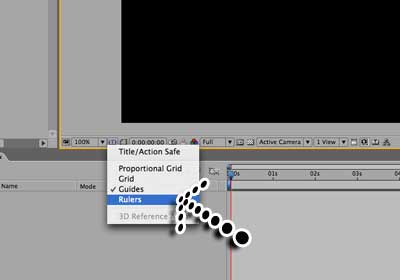
Next select the option to show rulers.
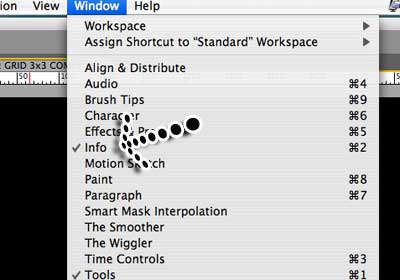
For this choose 'Window/Info' - this will show the guides position in pixels.
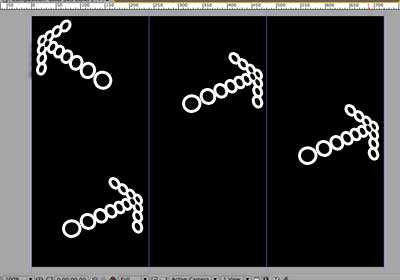
Hover over the ruler on the left till the icon has 2 arrows. Then drag across 4 guides, since I am using PAL they need to be 0, 240, 480 and 720 pixels.
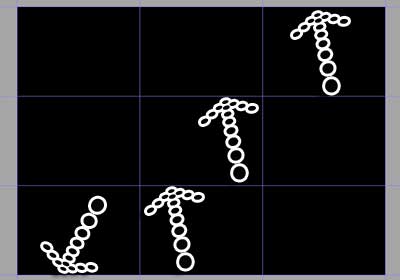
Now the ruler at the top. This time 0, 192, 384 and 576 pixels.
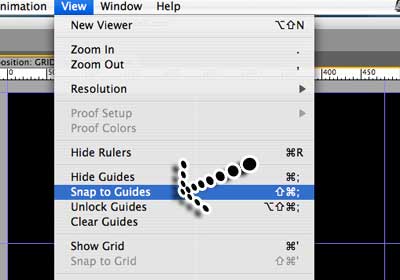
Make sure both of these are selected in the view menu 'view/snap to guides' and 'view/lock guides' - lock guides changes to unlock guides.
Now select the project window and place all 9 clips on the timeline and scale them to match the grid. This should be easy due to the 'snap to guides' being selected.
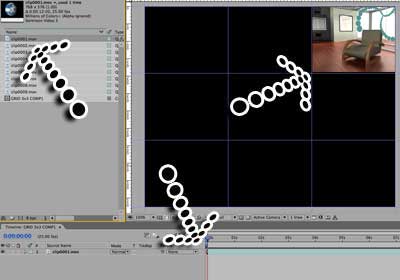
Now create a new composition and call it GRID 3x3 FINAL COMP.
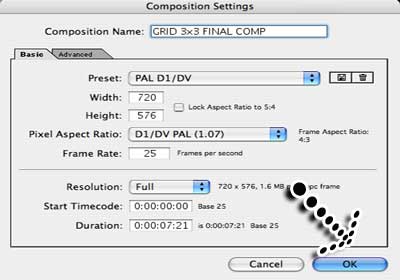
Make sure to double click the GRID 3x3 FINAL COMP in the Project window. You should see an empty timeline.
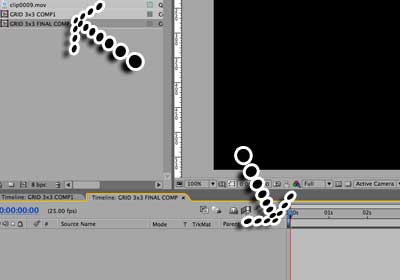
Go to the Project window and grab the GRID 3x3 COMP1 and place it on the timeline of GRID 3x3 FINAL COMP. Highlight the GRID 3x3 FINAL COMP on the timeline.
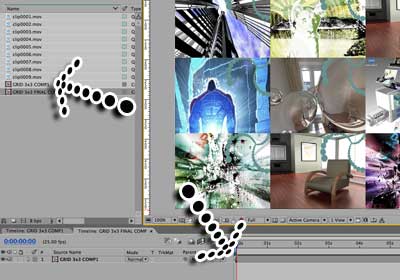
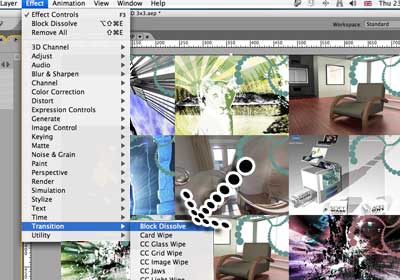
Select 'Effect/Transition/Block Dissolve' then extend the options of the GRID 3x3 COMP1. Now extend the options of the GRID 3x3 COMP1 options in the timeline. Till you see the Block Dissolve options.
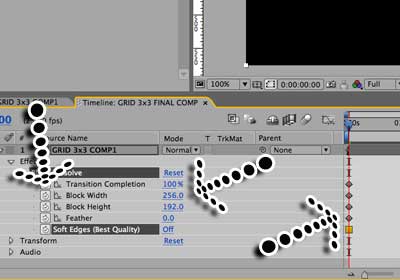
Change the Transition completion to 100%, Block Width to 256, Block Height to 192 and Soft Edges to Off then press on the timers on the left to create a keyframe.
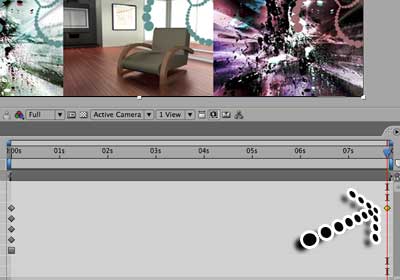
Then move the marker across the timeline to say 8 seconds, and on set the Transition completion to 0%. You should see another Keframe created on the timeline.
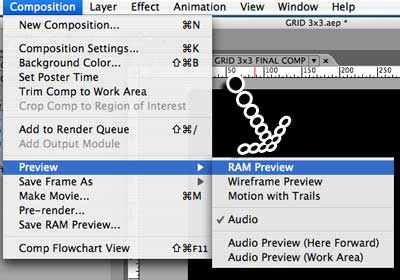
Do a ram preview and see it finished.
If you think it looks a little slow/dull try changing the block width to 50 on frame 1 of the timeline.
Also try to: -
1. Duplicate the 'GRID 3x3 COMP1' in the 'Project' window but change the order of the 9 clips. Then place the new composition into the 'GRID 3x3 FINAL COMP'. But try starting it on a different frame.
2. Add other effects, like 'card wipe'. It's up to you!
Hope this helps.
17 Mar, 2008
08 Jan, 2007
21 Dec, 2007

I am a Full-stack Developer who also started delving into the world of UX/UI Design a few years back. I blog and tweet to hopefully share a little bit of knowledge that can help others around the web. Thanks for stopping by!
Follow11 Jul, 2023
21 Jun, 2023
Views: 168,296
Views: 41,265
Views: 38,840
Views: 35,856