
Written by me@grafxflow
08 Jan, 2007
0
10,690
The built in 'Depth of Field' functionality has been in C4D for years. Simply put if you have something close up to the camera it will be in focus, and something in the distance will be blurred or vice-versa and even both making any object in the middle sharp.
Start by creating a new scene. Then add 2 spheres.
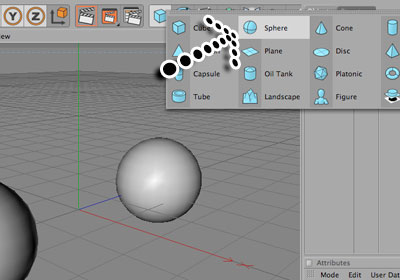
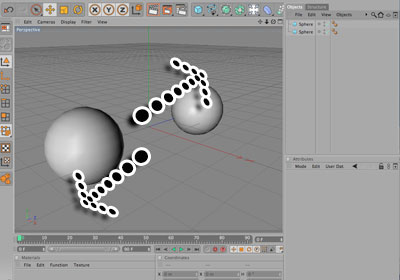
Move the spheres apart, one forward and one backward.
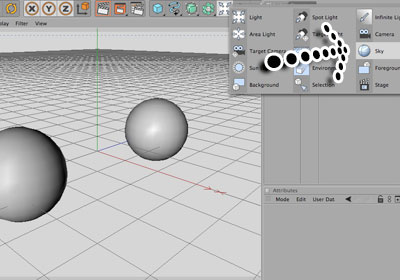
Add a sky object.
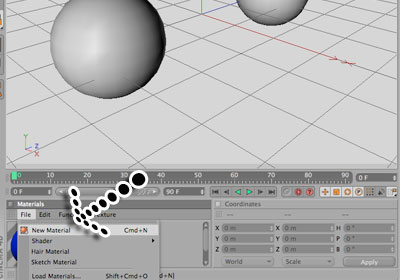
Make 2 new materials. Make one blue and the other pure white by highlighting the Luminance option.
Add the blue material to the 2 spheres and the white to the sky.
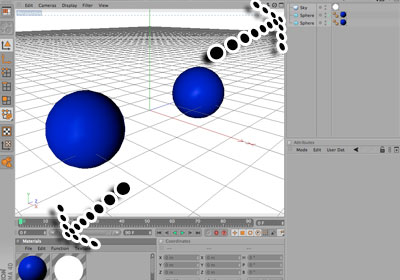
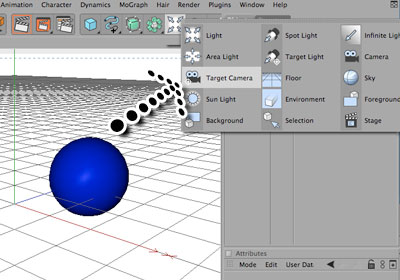
Now add a Target Camera.
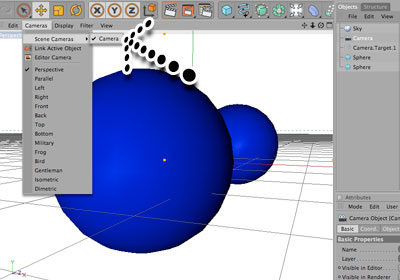
Lets make sure we are viewing the scene from the Cameras point of view. You will probably have to move the Camera in order to get this angle, but it is important that the Camera target sits between the 2 spheres.
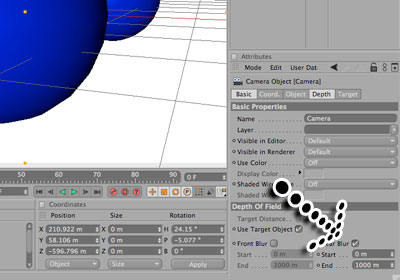
Now select the camera in the object window. You should see the camera settings, so select the Depth Of Field. Highlight Rear Blur and Use Target Object. It the later versions of C4D it appears under the 'Details' tab instead.
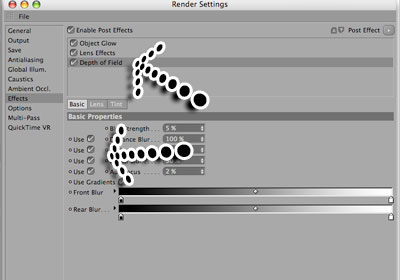
Now select the Render Settings. Select the Effects option at first then go to the right and press Post Effect. A drop down will appear so select the Depth of Field. Now choose the Depth of Field option and highlight everything under Basic/Basic Properties.
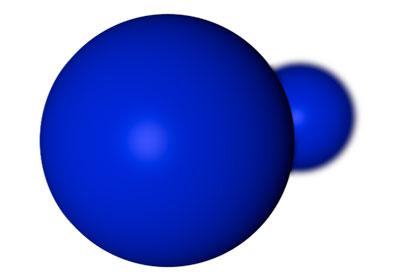
Here is a render of what has been set up. It looks very basic but on more complex scenes it can add great realism.
Here is another example using an HDRI image.

Hope this helps!
17 Mar, 2008
12 Jan, 2010
12 Jan, 2010

I am a Full-stack Developer who also started delving into the world of UX/UI Design a few years back. I blog and tweet to hopefully share a little bit of knowledge that can help others around the web. Thanks for stopping by!
Follow11 Jul, 2023
21 Jun, 2023
Views: 166,097
Views: 40,208
Views: 36,921
Views: 33,515