
Written by me@grafxflow
03 Jan, 2015
0
7,159
SAD NOTE: Due to apple dropping support for 32 Bit with the release of macOS 10.15 (Catalina) onwards it will no longer work!
The reason for me writing this 'How to' was to find a native way of playing Crysis Warhead (2008 version) on Mac OS X rather than via something like bootcamp and a windows installation. And after loads of installing and testing... again and again etc... I finally managed to sort out the process to get it working.
So for this tutorial I am going to show the basic steps of installing Crysis Warhead. Here is what I used:
Before doing anything make sure you have installed XQuartz, because without this the games installer DVD won't work.
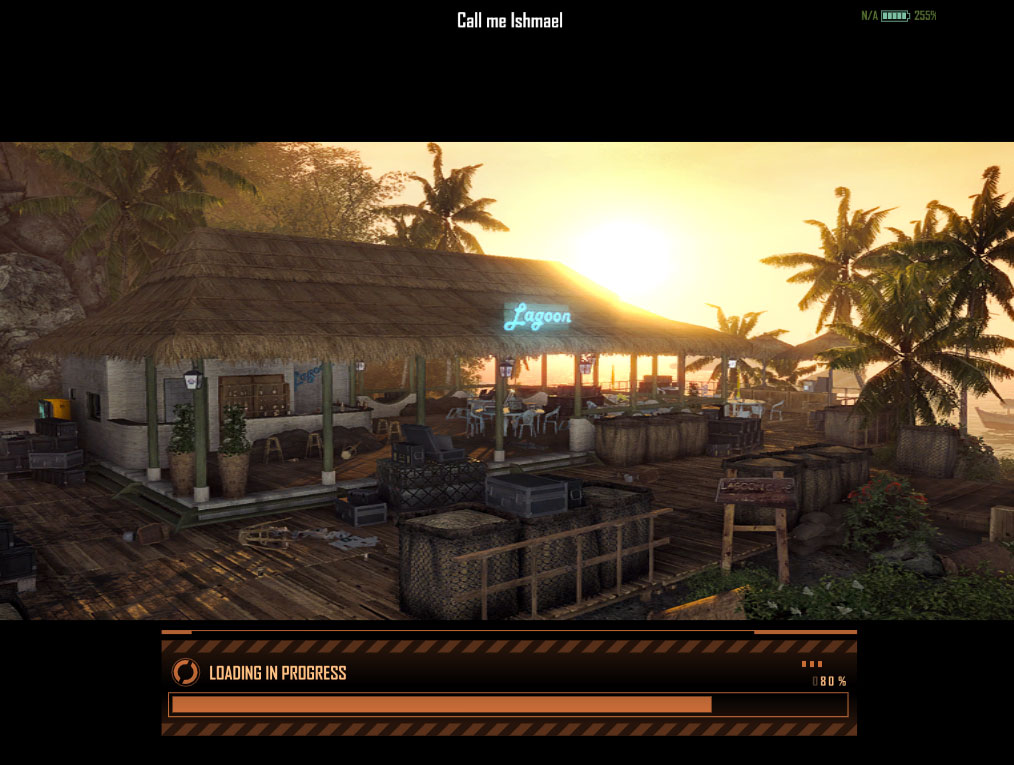
So lets get started by launching 'Wineskin Winery' and 'Create New Blank Wrapper' making sure to choose 'WS9WineCX14.0.0'. The reason for installing this version instead of 'WS9Wine1.7.31' - is that for some reason when starting the first level of the game it kept freezing and crashing every time the loading progress bar got to 80%.
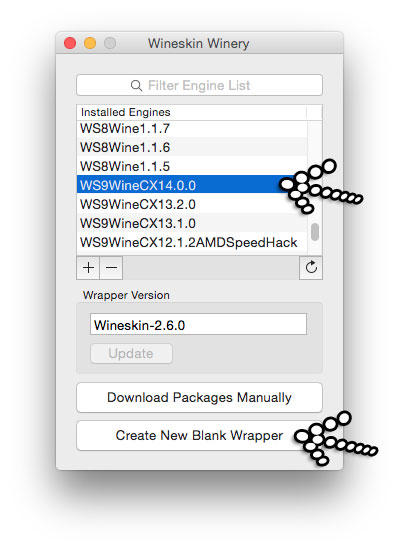
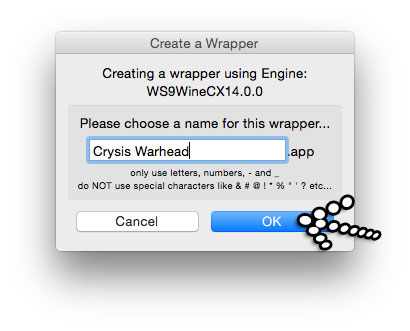
And name the file 'Crysis Warhead'.
Then just leave it to install the relevant files until the window appears telling you 'View wrapper in Finder'.
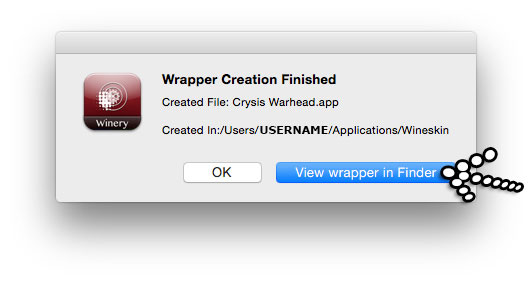
This will take you to the newly created file. Press on the icon + ctrl key to show the dropdown and then select 'Show Package Contents'. At the same time you can quit the 'Wineskin Winery' app since you won't need this anymore.

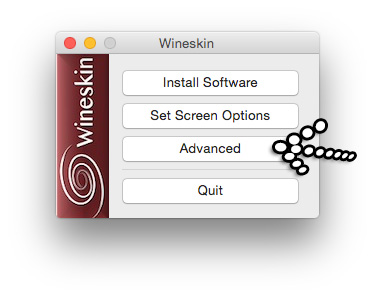
In the new window launch 'Wineskin'. NOTE: The alias for drive_c is in the same folder as the Wineskin app which is the easier way of doing some of the amends during this 'How to'.

Select the 'Advanced' option.
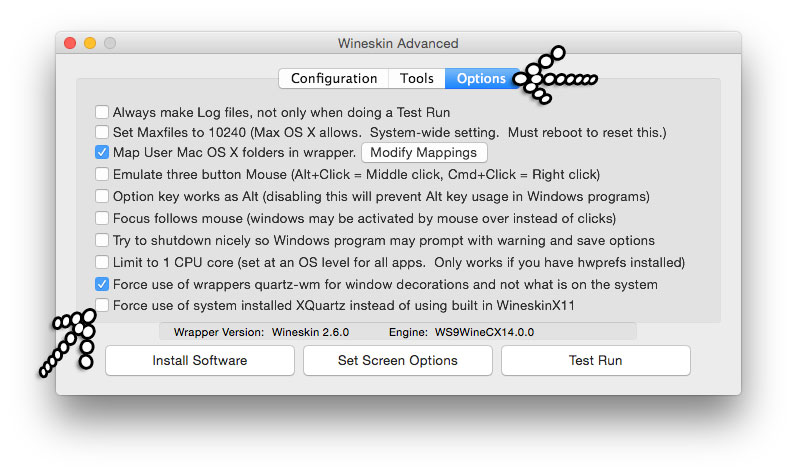
Now select 'Options' next to 'Tools' on the right. This will take you to another window. Select the checkbox for 'Force use of system installed XQuartz instead of using built in WineskinX11'. NOTE: We need this to install the game CD but once done we will uncheck since it's not needed to play the game.
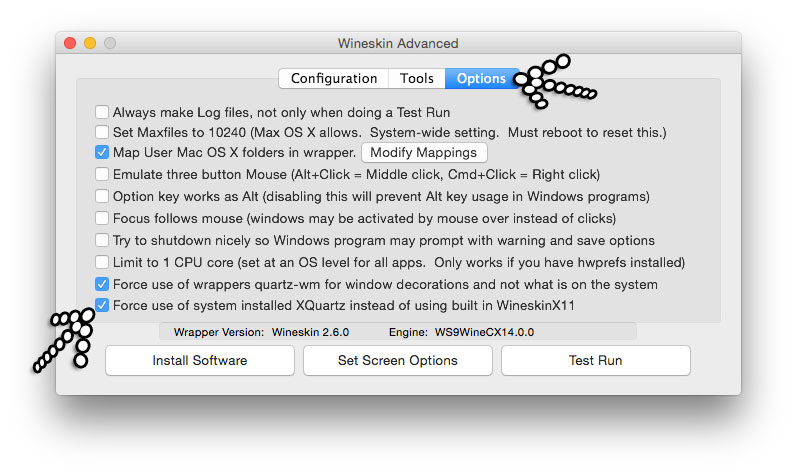
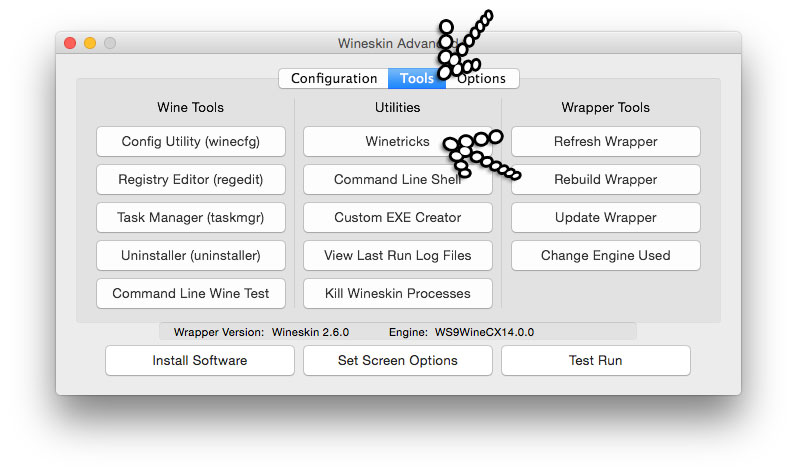
Choose 'Tools' and then select 'Winetricks'.
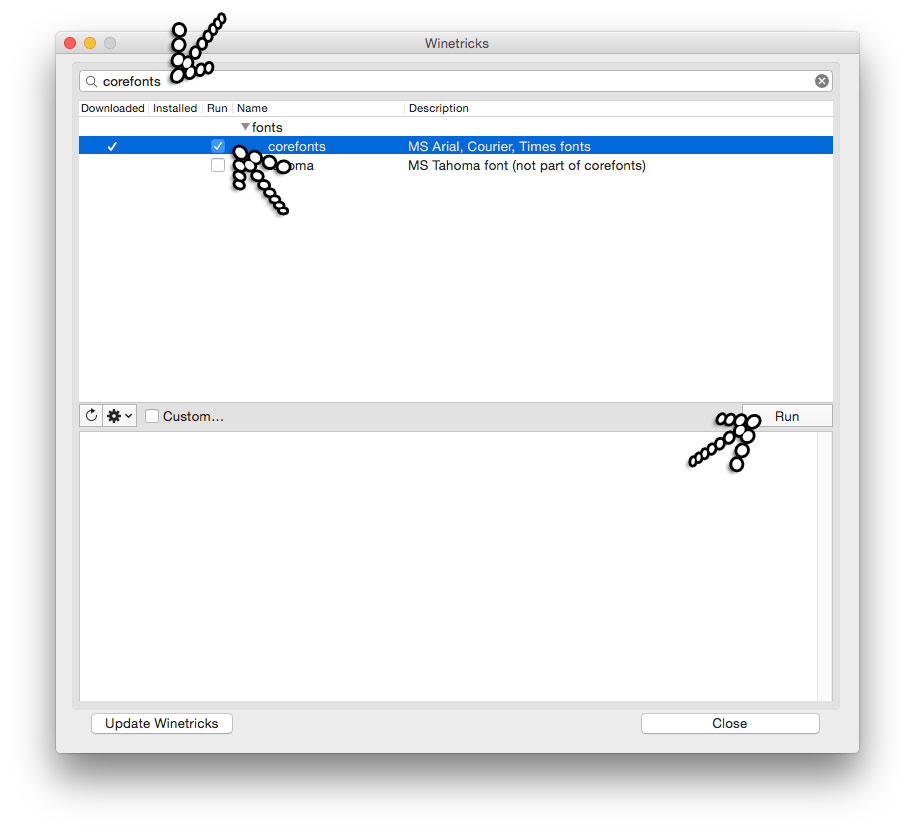
Now a new window will open and you will need to be running a few 'Winetricks' so lets start by searching for 'corefonts'. The list of options will update on screen so now select the checkbox under the run column and choose the 'run' button. NOTE: If you are installing some of these for the first time you may have to download them which will be done automatically. You will also notice the 'MS Tahoma font' on the screenshot but the automatic download link doesn't work for it, so this is why you will need to download it via the link at the start, but we will get to that later.
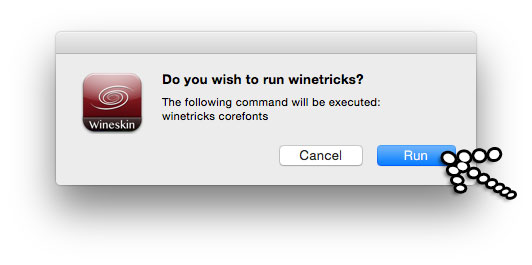
A warning popup window should appear but just select 'Run'. Also at the same time the 'X11' version of 'XQuartz' should boot-up in the background, but we need this for now.
We will need to do the same as above for the following:
d3dx9_43
vcrun2008 - An installer will appear but just follow the popups.
vcrun2010 - An installer will appear but just follow the popups, plus it will ask for an input of your User Name and Organization but this isn't required.
Once these are all done just select the 'Close' button...
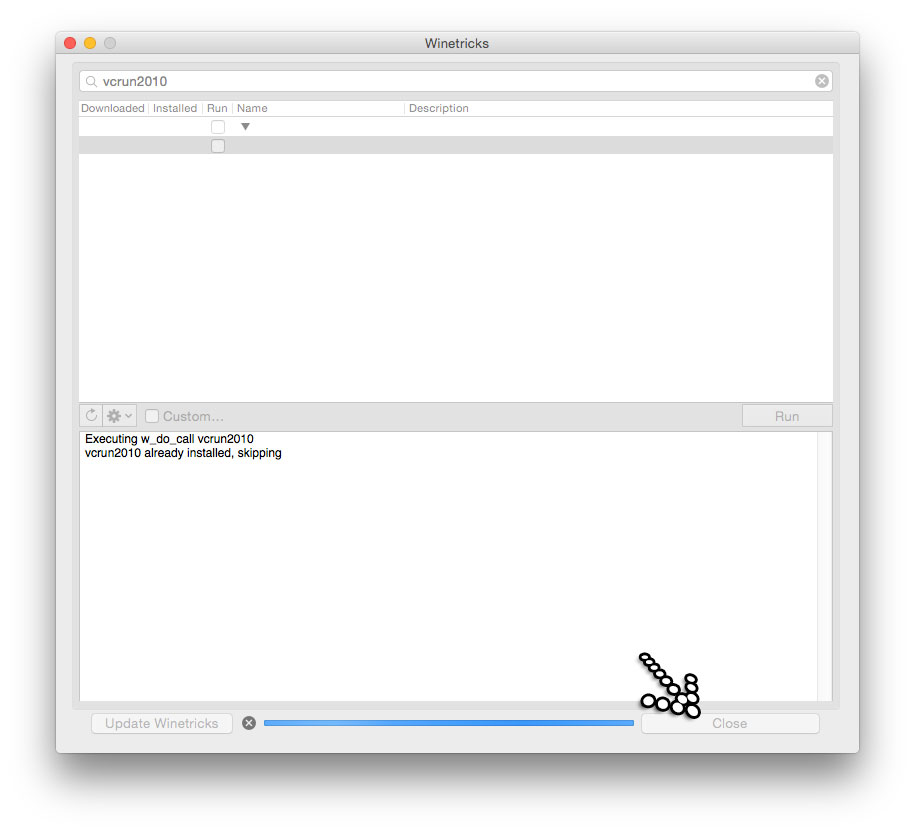
... which will take us back to the 'Tools' window. So from here choose the 'Install Software' button.
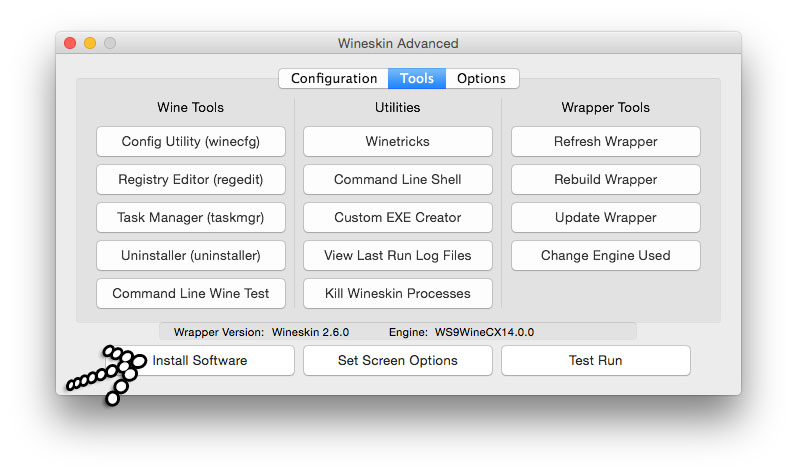
From the new window choose 'Choose Setup Executable'.
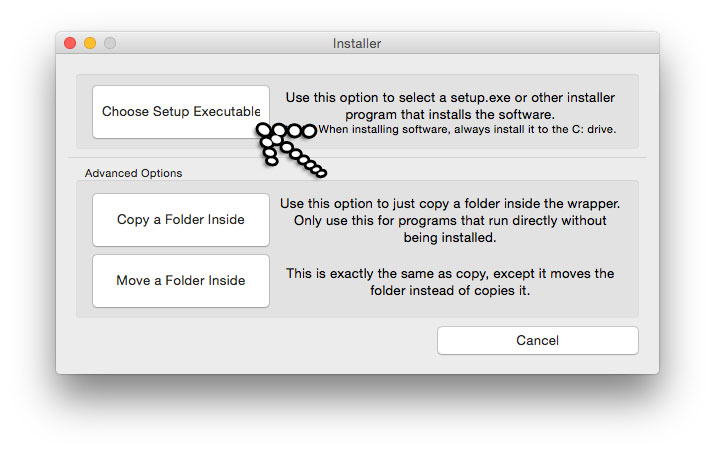
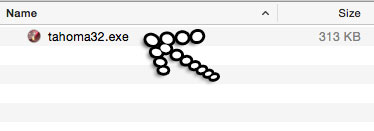
And choose the 'tahoma32.exe' which you downloaded.
The following windows will appear so just go through the installation process.
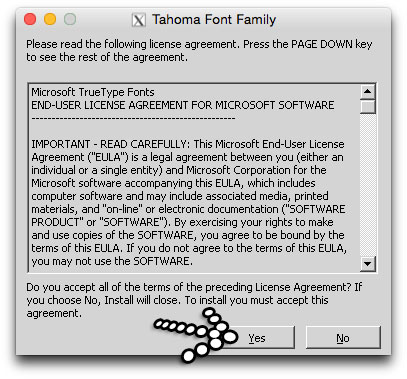
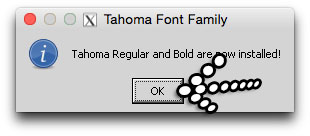
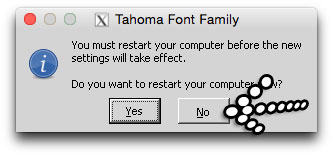
On the last screen you can choose to either select 'Yes' or 'No' it makes no difference.
Now a warning popup will appear but again just ignore it and press the 'OK' button.
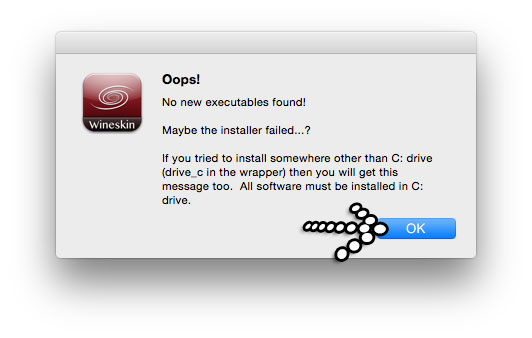
We are now going to install the game itself. You will need to have an internet connection in order to activate the game when placing your serial number.
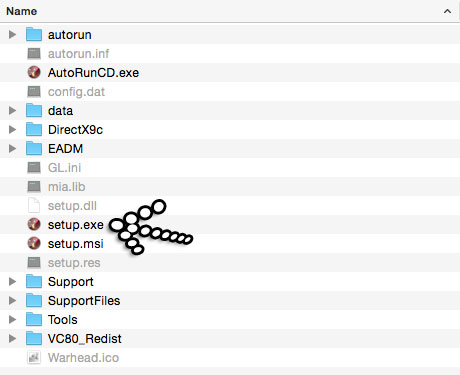
Back on the previous window press the 'Choose Setup Executable' again and make sure to have the Crysis Warhead installer DVD in the drive. There are 2 DVD's in the box set so use the one marked 'Crysis Warhead' not 'Crysis Wars'. The latter is the multiplayer version of the game.

Choose the 'setup.exe' file.
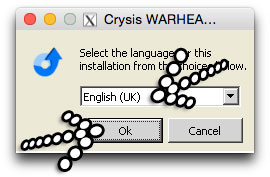
On the installer popup choose the relevant install language - so for me it's 'English (UK)' and then press 'Ok'.
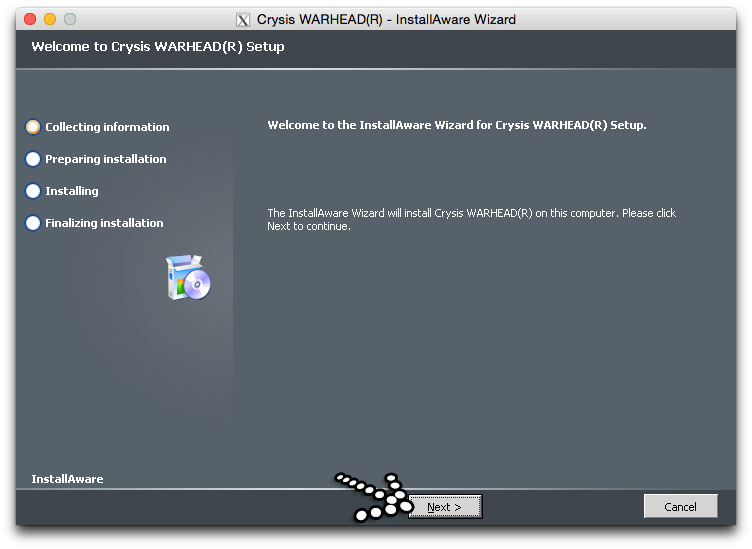
On the new window press 'Next'.
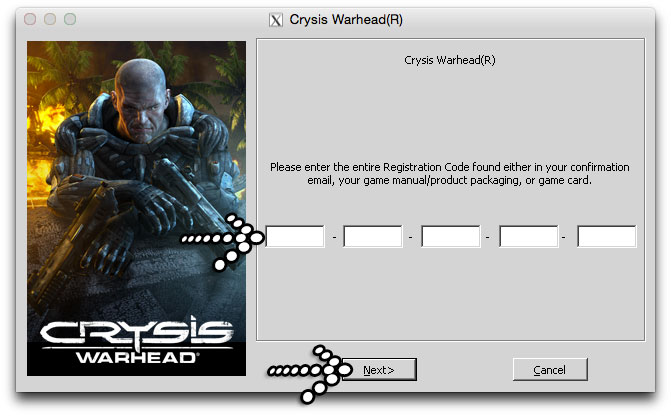
Another popup appears so place your serial numbers here. It can be found on the back of the manual that is in the DVD box set. Once done press the 'Next' button.
On the next screen choose the 'I accept the license agreement' checkbox and then again press the 'Next' button.
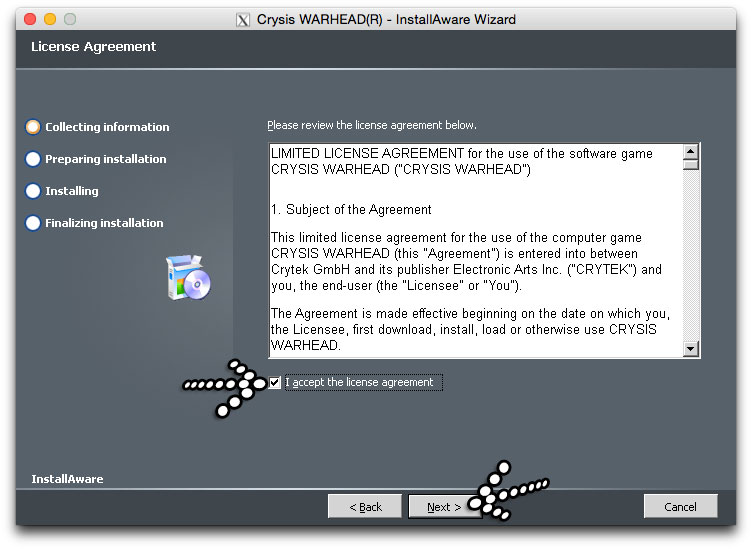
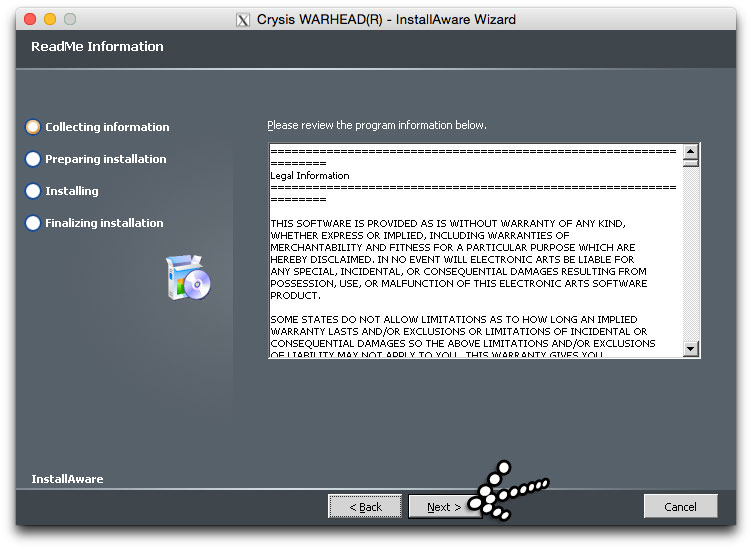
On the next screen there are more Legal text to read so press the 'Next' button.
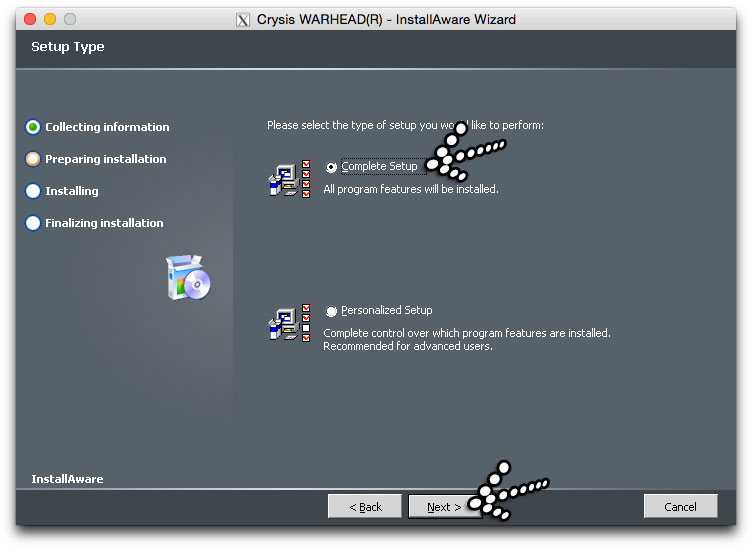
Now you choose what sort of installation type you want to do. By default it should be 'Complete Setup' and for this you need approximately around of 7GB of space. Again press the 'Next' button.
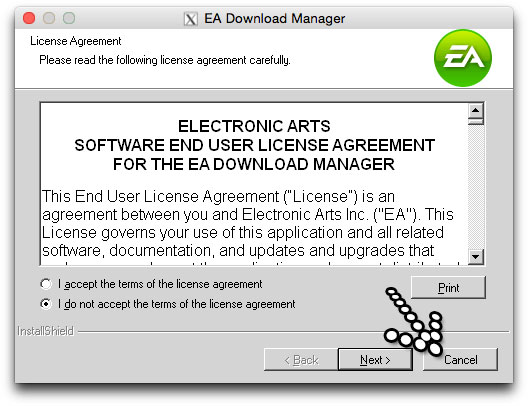
The 'EA Download Manager' installer appears but I press 'Cancel' because for some unknown reason it stops the install process working and I have to force quit... if anybody knows a solution please leave a comment below.
When the window closes the game should now start installing and show the following screen. This does take a while so be patient.
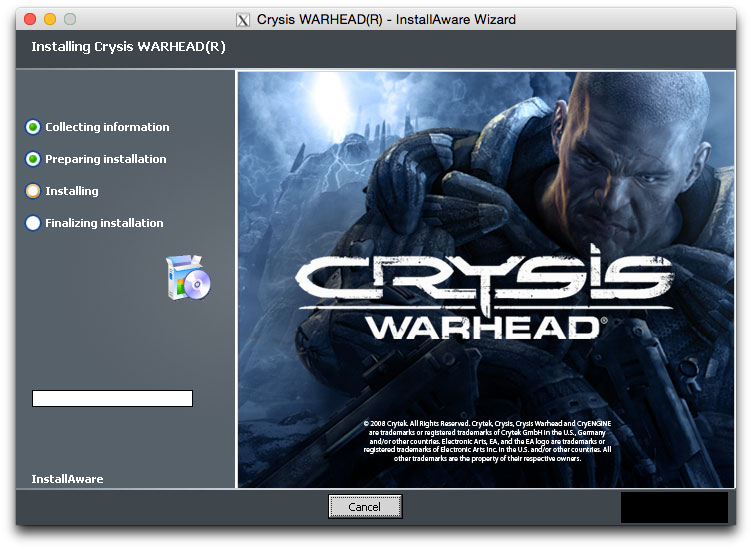
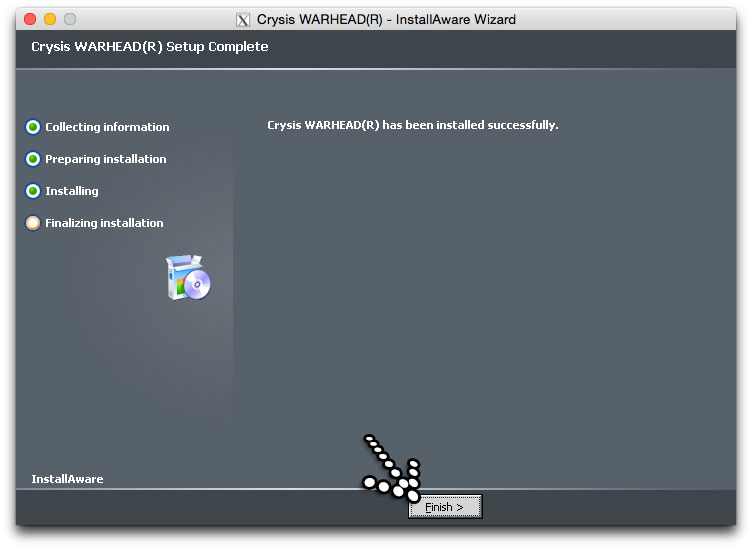
Once done press the 'Finish' button.
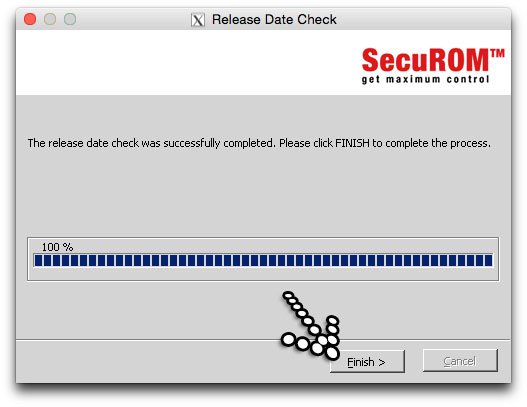
A 'Release Date Check' popup window appears and must do something like validate your serial number or some equivalent via the web. Once done press the 'Finish' button.
The game has now installed and it goes back to 'Wineskin'. On the popup window choose the following as the Executable file.
/Program Files/Electronic Arts/Crytek/Crysis WARHEAD/Bin32/Crysis.exe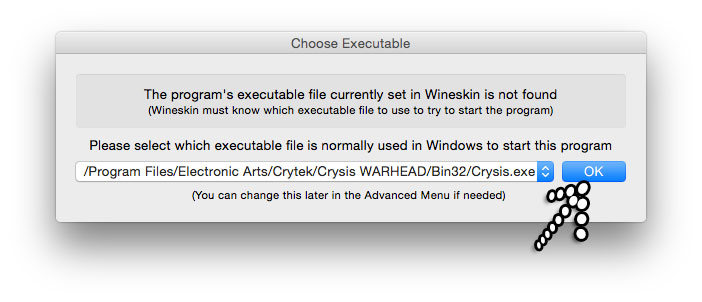
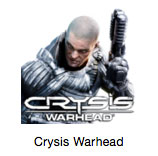
You should now be able to eject the games installer DVD and have no need for it again... unless you need to install it again in future! Going back to the main menu or choose the 'Configuration' tab and browse for a game icon...there are plenty on the web. It has to be in icns format.
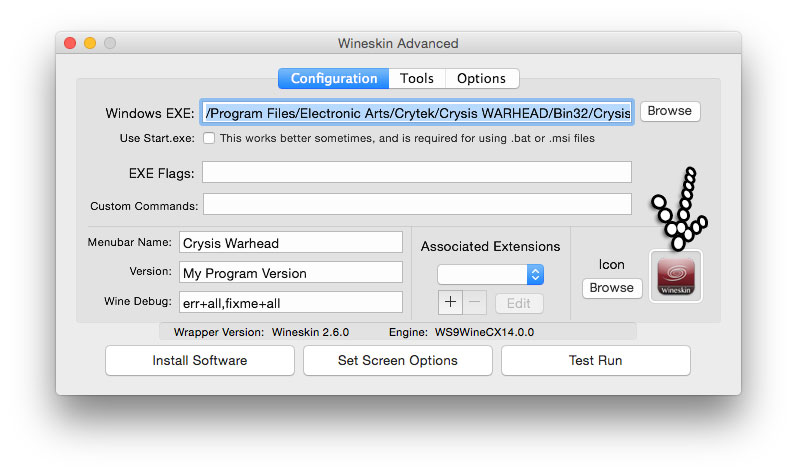
So now it should look like this...
Now go back to the 'Options' tab and uncheck the 'Force use of system installed XQuartz instead of using built in WineskinX11' option.
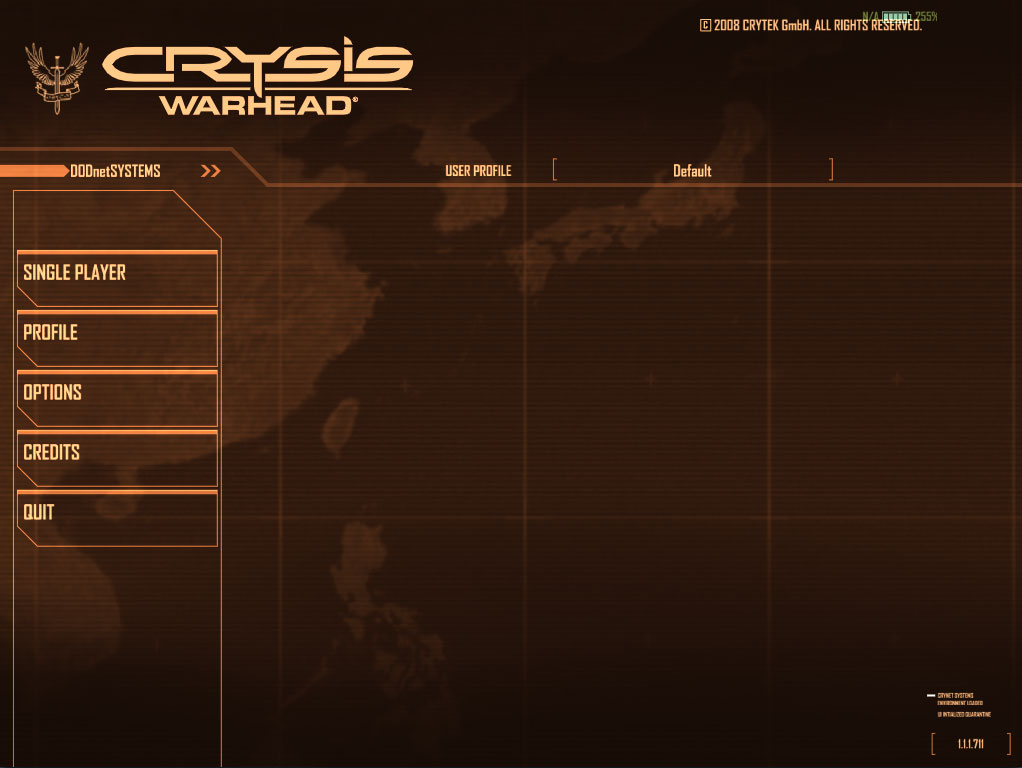
Finally that's it and you should be able to play the game without any problems.
If you have time I would also suggest you install the update patch found here - Crysis Warhead Patch 1.1. You WON'T need the XQuartz checked to do this.
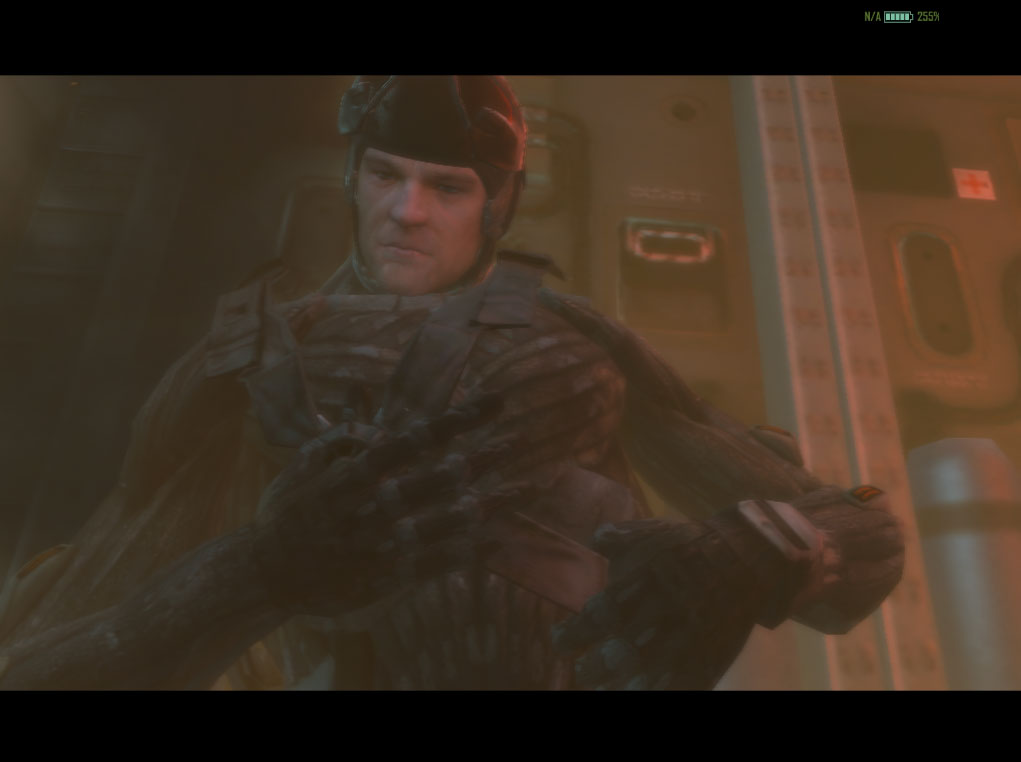
Here are some screen grabs of game play...
Below is the first level loading progress bar where it kept crashing at 80%... it still lags at 80% but after a while carries on loading.
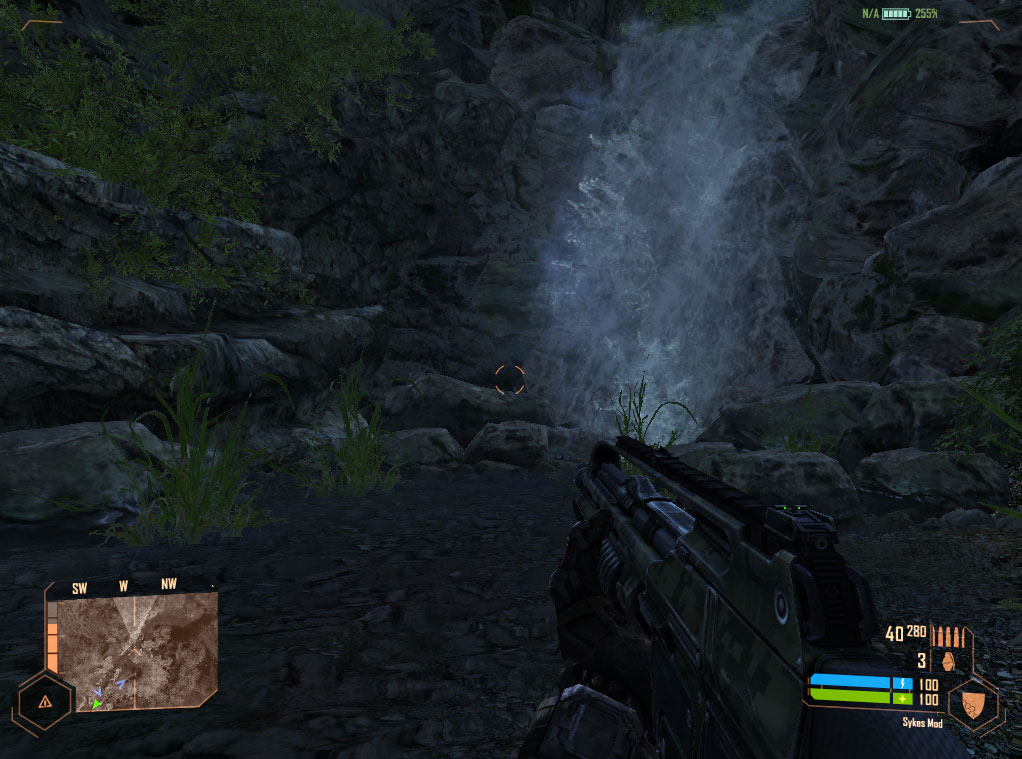
Have fun!
03 Aug, 2014
07 Oct, 2016
25 Dec, 2012

I am a Full-stack Developer who also started delving into the world of UX/UI Design a few years back. I blog and tweet to hopefully share a little bit of knowledge that can help others around the web. Thanks for stopping by!
Follow20 May, 2025
11 Jul, 2023
Views: 169,328
Views: 41,898
Views: 39,691
Views: 36,502