

Written by me@grafxflow
22 Apr, 2020
0
9,956
In this tutorial you will be able to install GitLab Community Edition locally on your mac using a vagrant box. This tutorial has been tested with macOS 10.15 and at the time of writing this tutorial, the latest version of GitLab CE is 12.9.3 and the latest version of Ubuntu is 18.04 (bionic64).
First you must make sure all the following are installed.
NOTE: Ruby versions 2.0 and above are included by default in macOS releases since at least El Capitan (10.11).
You should already have ruby installed so lets check this first.
ruby -v

or

/usr/bin/ruby -v
This should output something like.
ruby 2.6.3p62 (2019-04-16 revision 67580) [universal.x86_64-darwin19]At first in the terminal make the directory that will be used for the GitLab CE installation and set it as default, so for this example 'gitlab-local'.
mkdir gitlab-local

cd /gitlab-local
Then create a vagrant file.
vagrant initNow open this file.
vim VagrantfileAnd replace the content with the following - you may need to change the forwarded_port and private_network to your own settings.
# -*- mode: ruby -*-
# vi: set ft=ruby :

VAGRANTFILE_API_VERSION = "2"

Vagrant.configure(VAGRANTFILE_API_VERSION) do |config|
  config.vm.box = "ubuntu/bionic64"
  config.vm.hostname = "gitlab.local"

  if Vagrant.has_plugin?("vagrant-vbguest")
    config.vbguest.auto_update = false
  end

  config.vm.network "forwarded_port", guest: 80, host: 8080
  config.vm.network "forwarded_port", guest: 22, host: 8022

  config.vm.network "private_network", ip: "192.168.33.44"
  config.vm.synced_folder ".", "/vagrant", type: "rsync", rsync__exclude: [".git/"]

  config.vm.provider "virtualbox" do |vb|
    # Display the VirtualBox GUI when booting the machine
    #vb.gui = true
    vb.name = "gitlab.local"
    # Customize the amount of memory on the VM:
    vb.memory = "4096"
  end

  config.vm.provision "shell", inline: <<-SHELL
    sudo apt-get update
    sudo apt-get install -y curl openssh-server ca-certificates

    debconf-set-selections <<< "postfix postfix/mailname string $HOSTNAME"
    debconf-set-selections <<< "postfix postfix/main_mailer_type string 'Internet Site'"
    DEBIAN_FRONTEND=noninteractive sudo apt-get install -y postfix

    if [ ! -e /vagrant/ubuntu-bionic-gitlab-ce_12.9.3-ce.0_amd64.deb ]; then
        wget --content-disposition -O /vagrant/ubuntu-bionic-gitlab-ce_12.9.3-ce.0_amd64.deb https://packages.gitlab.com/gitlab/gitlab-ce/packages/ubuntu/bionic/gitlab-ce_12.9.3-ce.0_amd64.deb/download.deb
    fi
    sudo dpkg -i /vagrant/ubuntu-bionic-gitlab-ce_12.9.3-ce.0_amd64.deb
    sudo gitlab-ctl reconfigure
  SHELL
end
Now startup the vagrant box, this will initially take a while to install all the required files such as Gitlab CE.
vagrant upChange the host file to recognise http://gitlab.local in your browser by opening the following which should also ask for your password.
sudo vim /private/etc/hostsThen add the following line at the bottom and save it.
192.168.33.44 gitlab.localAccess the Ubuntu terminal of the virtual box.
vagrant sshNow in the same terminal window edit the following file.
sudo vim /etc/gitlab/gitlab.rbAnd find and replace.
external_url 'http://gitlab.example.com'With.
external_url 'http://gitlab.local'Then enter the following for the change to take effect.
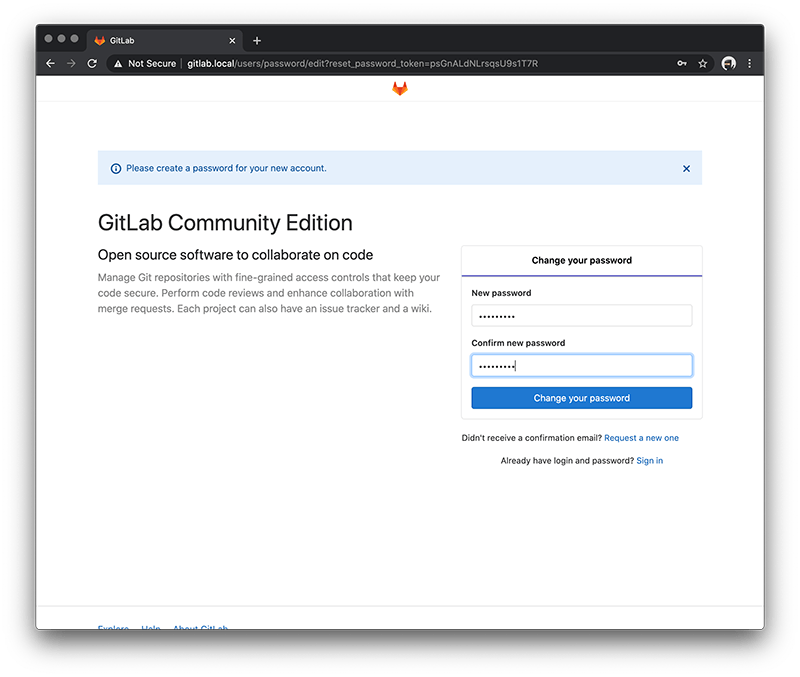
sudo gitlab-ctl reconfigureOpen your browser with url http://gitlab.local. The first time around it will ask you to change your password.
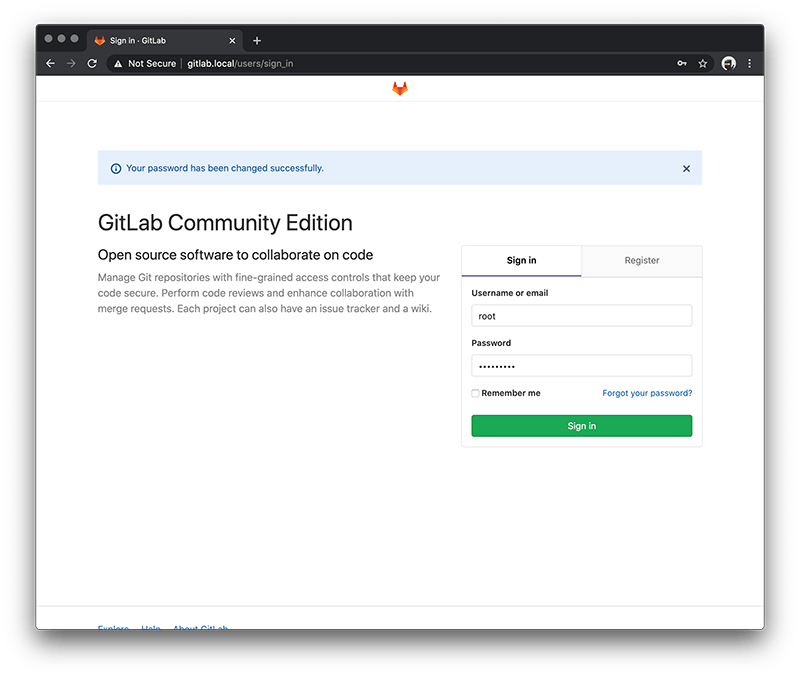
Once done it will redirect you to the login page. By default the username is root so just enter this and your new password.
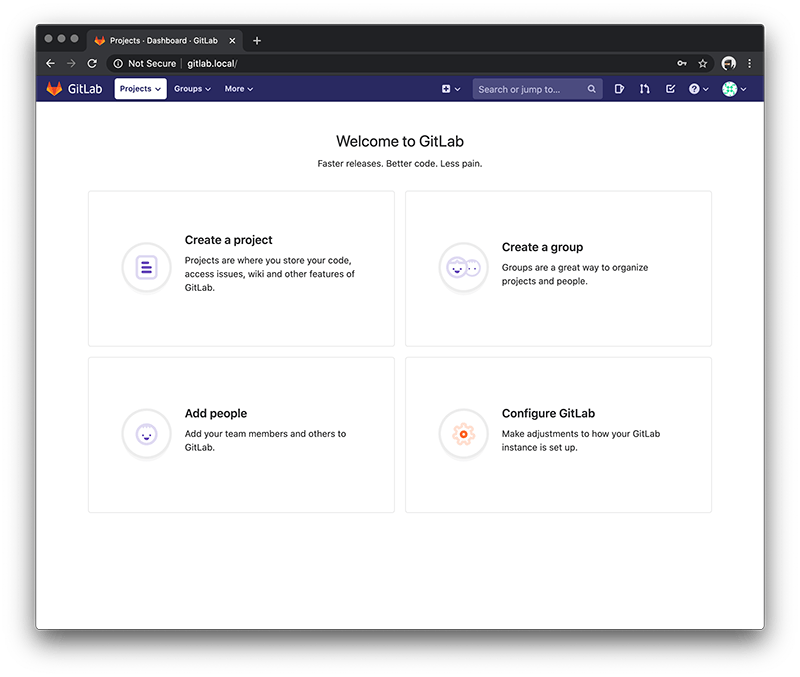
Now you should have access to the Gitlab CE Dashboard.
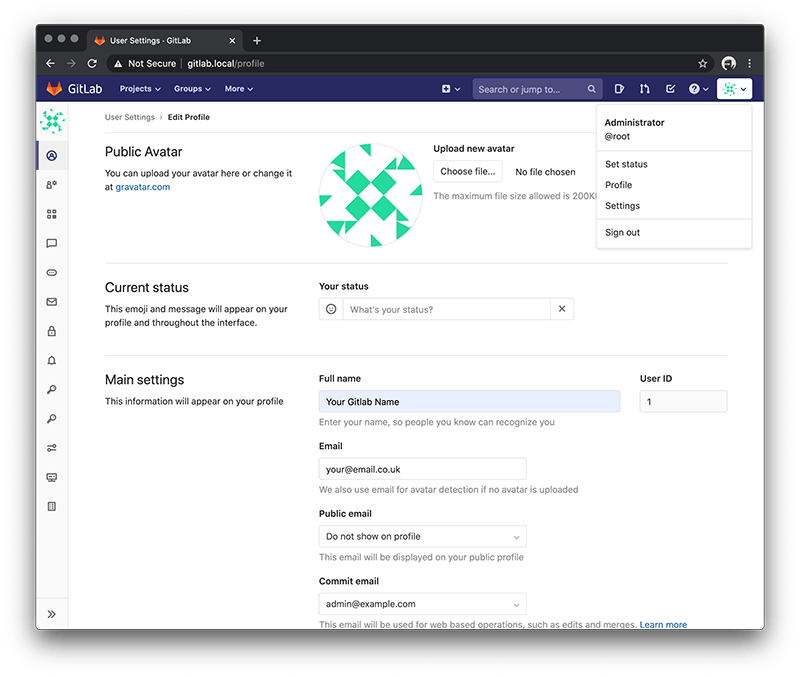
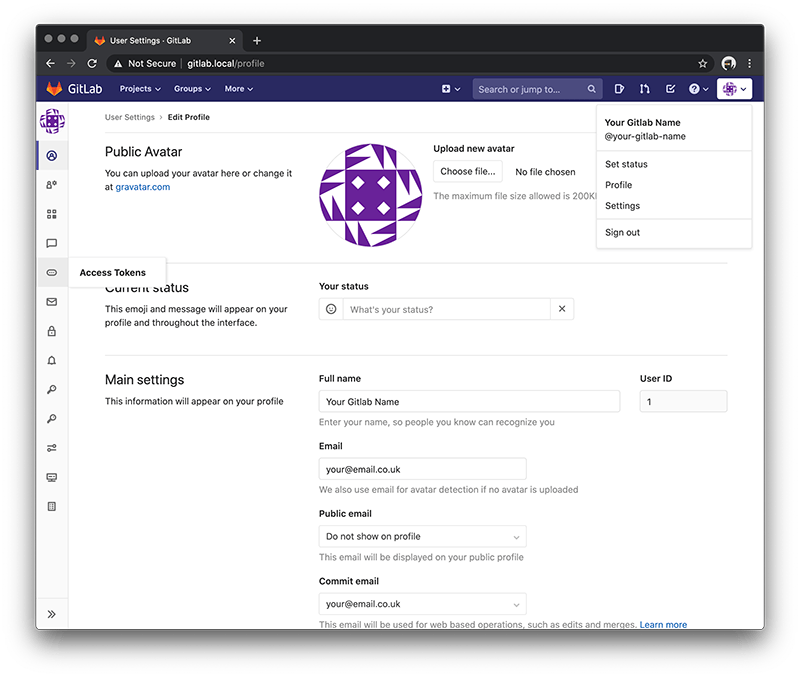
First thing you should do is change your user details, so choose Settings and change your 'Email' and 'Full name' then press the 'Update profile settings' button.
You will receive an email just to confirm that it's exists. If the external_url has worked correctly the link in the email will work fine.
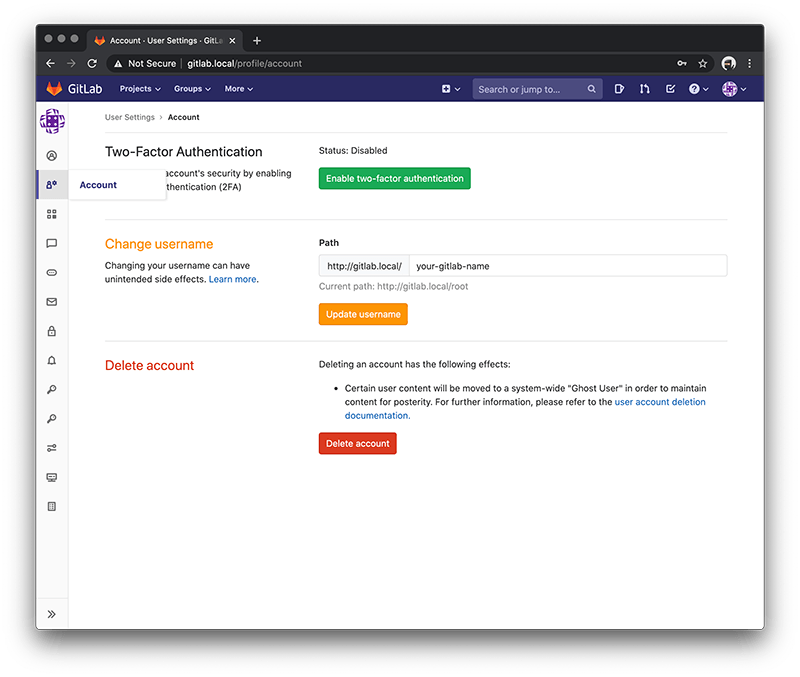
And then edit your username by selecting Account.
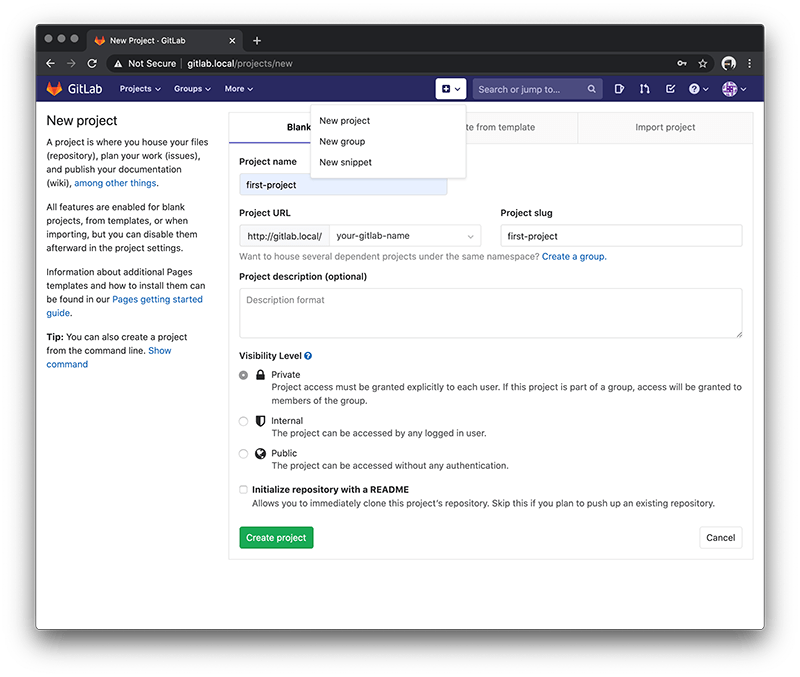
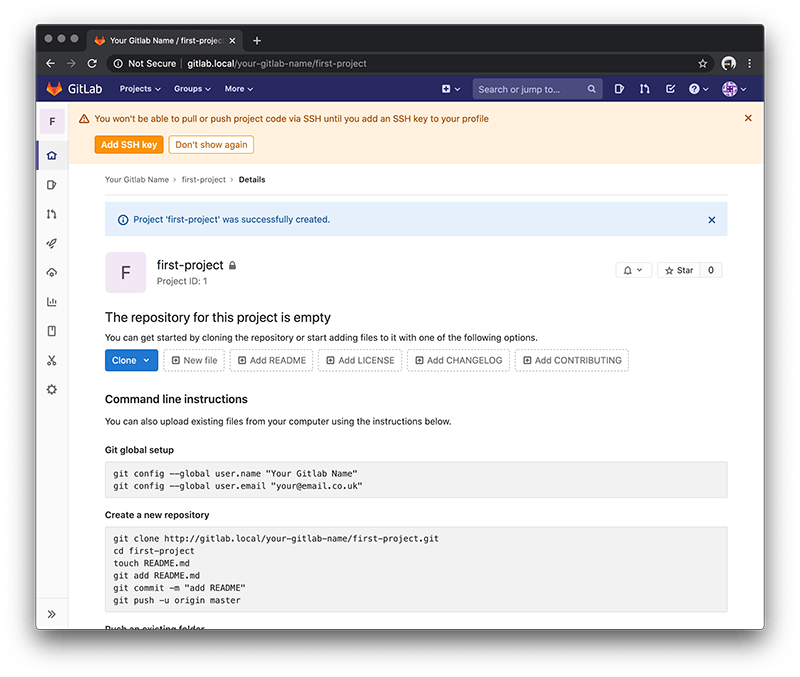
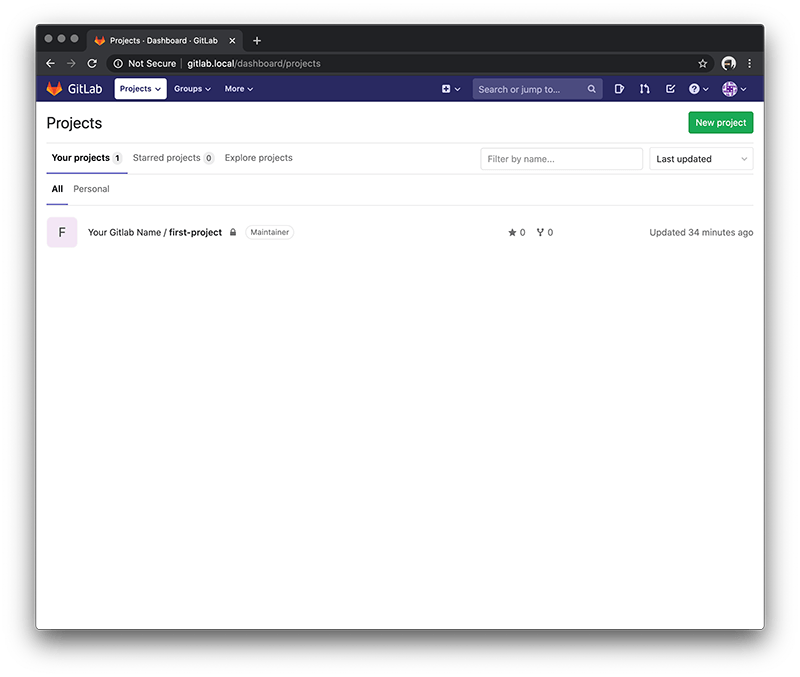
Create a new project so for this example I have used first-project.
You will be asked to first generate a SSH key.
Open a new terminal window and enter the following.
ssh-keygen -t rsa -C "your@email.co.uk"Then enter the filename you want the key to be named, just press return if you want to keep the default generated name but I would suggest using a custom name and remember to include the full directory in the filename like below.
/Users/[username]/.ssh/id_gitlab_ce_rsaNow just press enter twice to keep the passphrase empty.
Enter passphrase (empty for no passphrase):
Enter same passphrase again:
Open the public key with your naming above.
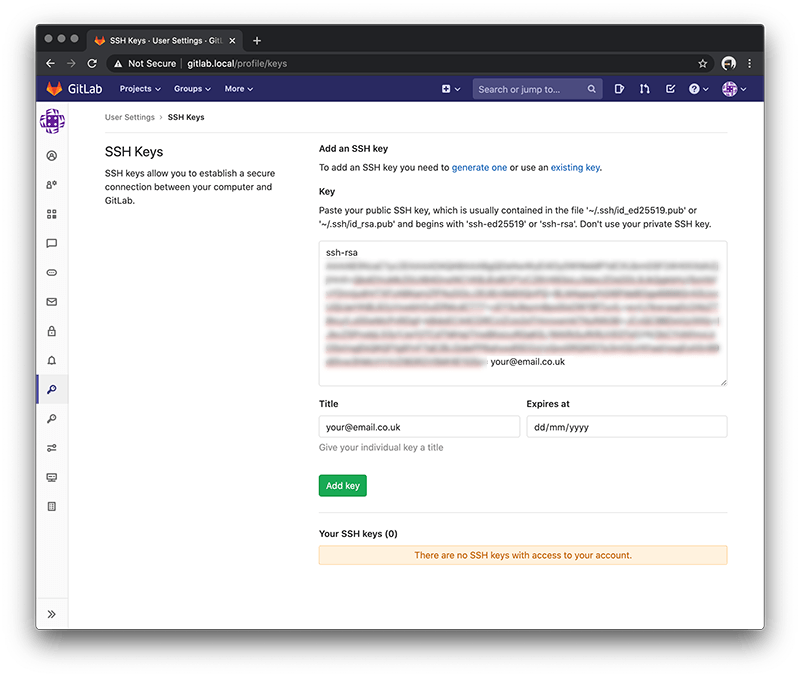
vim /Users/[username]/.ssh/id_gitlab_ce_rsa.pubYou will have a line of random code begining with 'ssh-rsa' so copy this for use with GitLab.
Go back to the GitLab CE dashboard and press the Add SSH Key and paste the public key then press Add key.
You should get an email to confirm this.
First open the following file and link your ip/url to your key.
vim /Users/[username]/.ssh/configAnd add the following.
Host gitlab.local
HostName gitlab.local
User your-gitlab-name
Port 22
IdentitiesOnly yes
IdentityFile /Users/[username]/.ssh/id_gitlab_ce_rsa
So now you can clone the repo by entering this in the terminal.
mkdir gitlab-local-repos

cd /gitlab-local-repos

git clone git@gitlab.local:your-gitlab-name/first-project.git
It will initially ask you the below, so just enter 'yes'.
Are you sure you want to continue connecting (yes/no/[fingerprint])? This should be working fine.
With the Github Desktop application things work a little different regarding accessing your repos. So lets start by selecting Settings then Access Tokens on the left navigation.
At first enter a name - so for this example 'First Project' and select the api checkbox. Then press the 'Create personal access token' button.
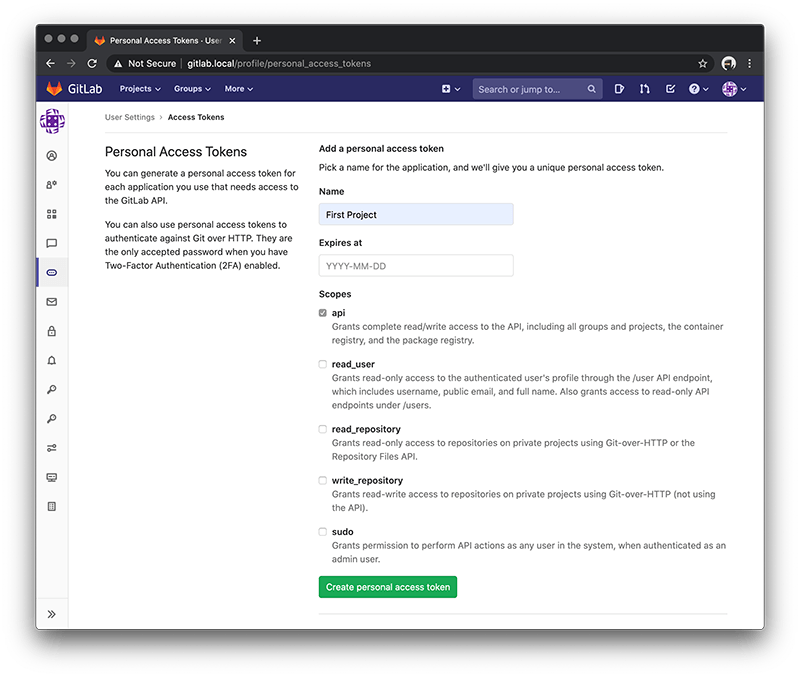
The page should refresh and generate a code under Your New Personal Access Token. Make sure to get a copy of this code because we will need to use this in the Github Desktop application.

Now select the 'Your Gitlab Name / first-project' repo.
On the following page choose the Clone dropdown button and highlight either the http or https that appears so for example.
http://gitlab.local/your-gitlab-name/first-project.git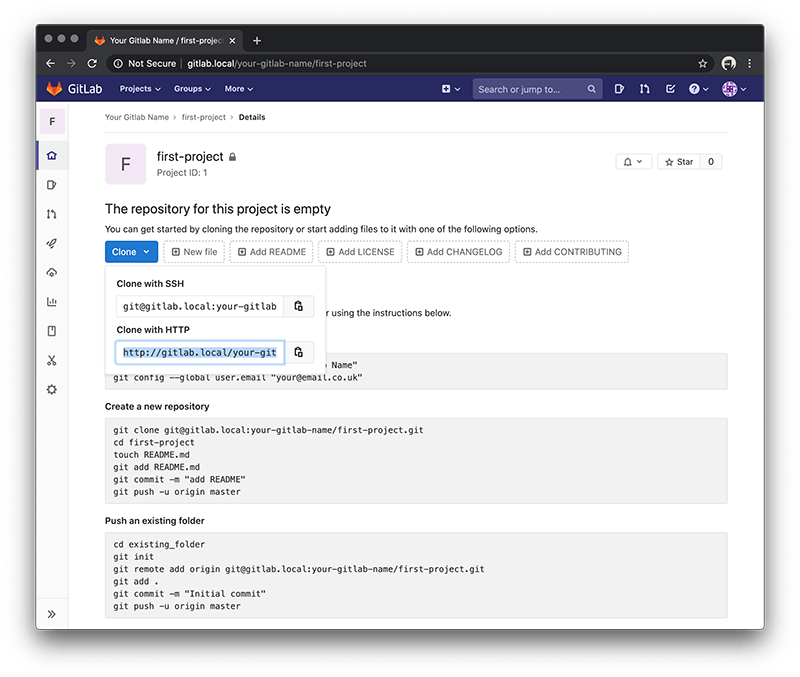
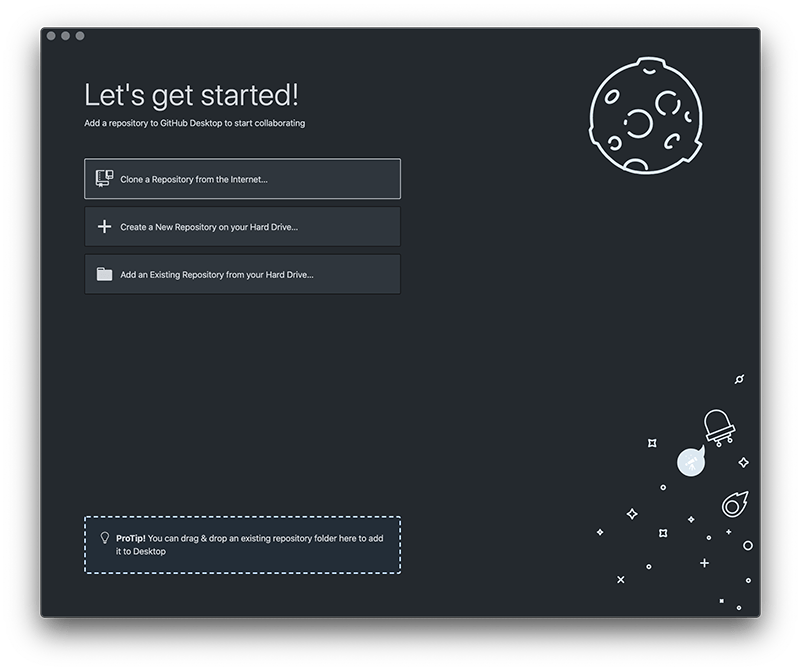
Now launch the GitHub Desktop app and choose 'Clone a Repository from the Internet...'.
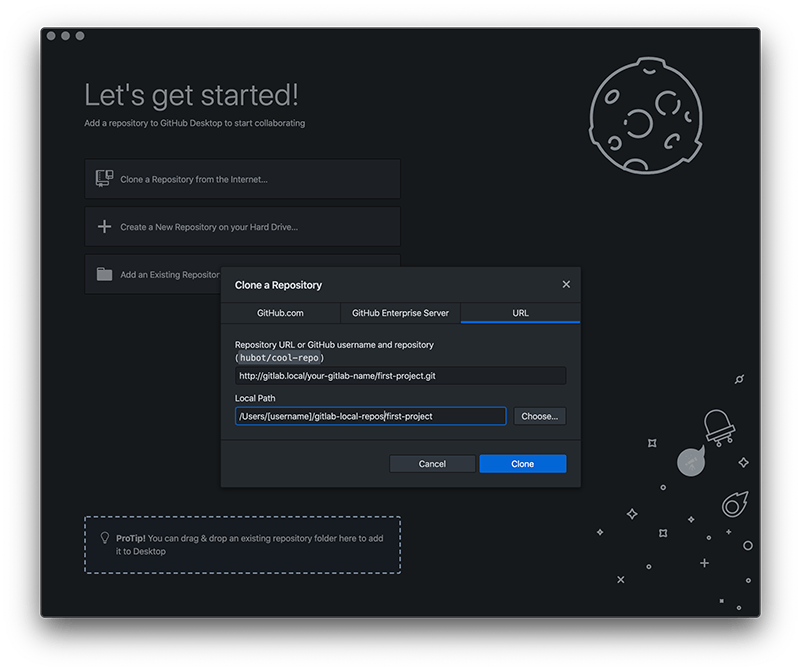
Input the repo url and the destination folder.
Repository URL: http://gitlab.local/your-gitlab-name/first-project.git
Local Path: /Users/[username]/gitlab-local-repos/first-project
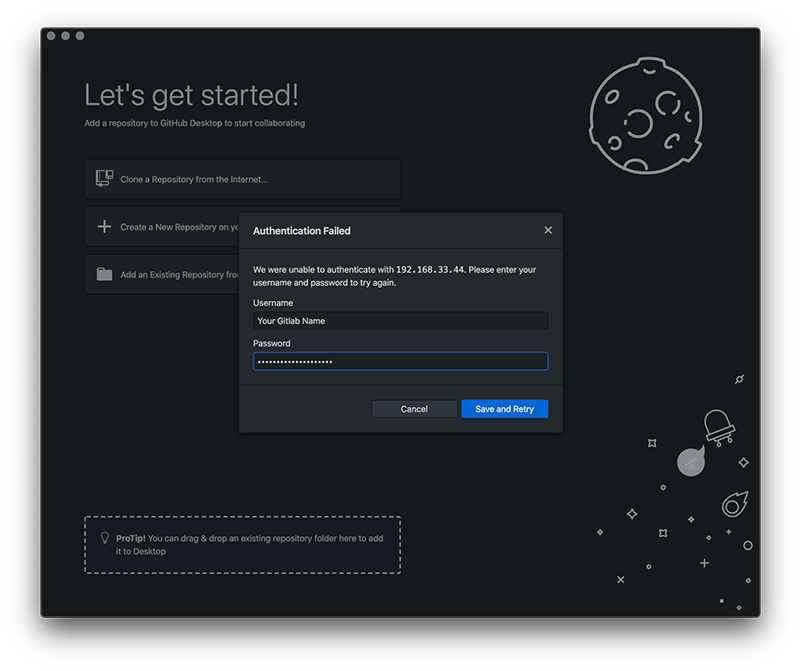
Now the first time doing this you will be asked for the Authentication Login so add your username (for this example 'Your Gitlab Name') which you used to access the GitLab dashboard and the password which should be the generated 'Personal Access Token'.
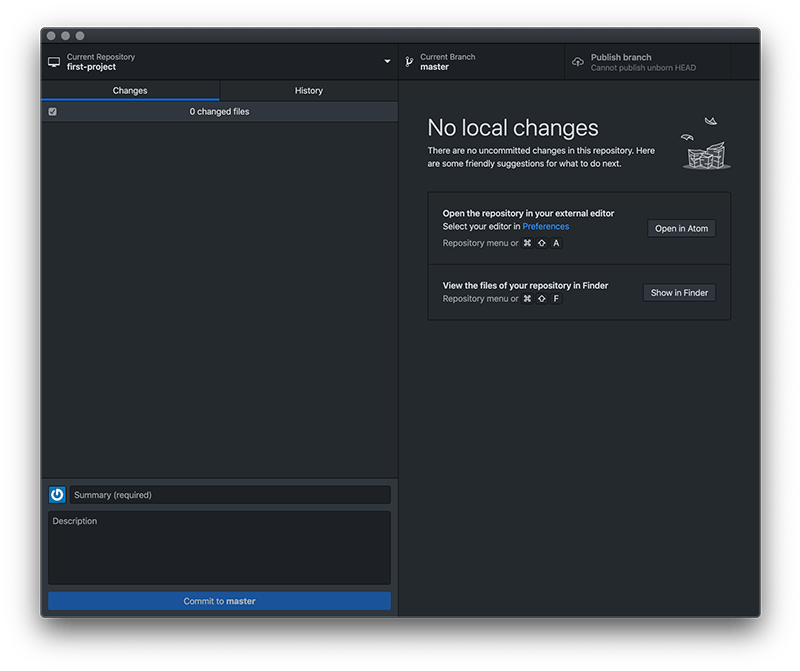
Now you should get the cloning progress bar and it will have synced the repo of your local GitLab CE.
I hope this has been helpful.

30 Dec, 2018

03 Aug, 2014

I am a Full-stack Developer who also started delving into the world of UX/UI Design a few years back. I blog and tweet to hopefully share a little bit of knowledge that can help others around the web. Thanks for stopping by!
Follow
11 Jul, 2023

21 Jun, 2023

Views: 167,728

Views: 40,995

Views: 38,412

Views: 34,697